GUIDE TO SHOOTING RAW PART VI
EXPORTING FILES
In this part of our series, we look at the output of raw files and using conversion software for functions you may not have previously considered
ALTHOUGH raw files are known as the digital negatives of image files. many programs now allow varied applications without first having to turn them into JPEG or TIFF formats This allows the whole workflow process to be performed with the raw file, from import to print The abilities of your raw software can also be expanded with the aid of plug-ins and external editors, and these can provide everything from instant uploads to image-sharing sites through to specific image-control functions
EXTERNAL EDITORS AND PLUG-INS
Most raw programs allow third-party companies to develop software that works in partnership with each program, as this provides additional functionality for the user Both Adobe Lightroom and Apple Aperture have a wide range of additions available to download, with links from each manufacturer’s pages.
For these third-party companies, offering their software in the form of an add-on avoids direct competition with the raw heavyweights and produces a larger audience The software tends to offer a more advanced version than that already available. and examples include Noise Ninja for Aperture and Photomatix Pro. Using Adobe Lightroom, external editors are accessed via a right click on the required file or via Photo>Edit non the menu bar When moving a file to an external editor, the raw software will usually convert the file in to a TIFF format Once the editing is complete, this file is imported back into the raw software and stacked with your original Plug-ins that aid workflow are generally much simpler and tend to be offered as free applications rather than paid-for additional programs In Lightroom. these plug-ins usually sit in the Publish services palette n the Library section Each service can be set up with the relevant passwords and locations, and then files can simply be dragged onto the icon and published as a group with a single click.

SLIDESHOW CREATION
SLIDESHOWS are an easy and attractive way of displaying large numbers of images. The ability to create them tor digital photos has proved popular for all levels of photographer, from casual to portrait a wedding professional. While Lightroom and Aperture both contain built-in slideshow creators, there are also plug-ins available to export images directly to Proshow Gold, the popular slideshow-creation software.
By creating the slideshows from within the raw software it avoids the need to create a folder of JPEG images first. Older versions of Lightroom created a slideshow in a PDF format, but Lightroom 3 now offers a choice of PDF and MP4 video output as well as playing a professional- looking show from within the software Options are available to add a soundtrack from your computer and change the slide and transition timings. You can even fit the show to the length of the music.
Apple Aperture offers an even more advanced slideshow control, with individual duration control, themed shows and extra audio control. The shows can also be exported with a choice of H 264 and MP4 codecs.
Apple Aperture offers an even more advanced slideshow control, with individual duration control, themed shows and extra audio control. The shows can also be exported with a choice of H 264 and MP4 codecs.


BATCH PROCESSING
WHEN working on a series of images from a shoot, it is easier to convert the raw files to either JPEG,DNG or TIFF as a group rather than individually. This process is commonly known as batch processing and is standard in all decent conversion programs. In Lightroom multiple files can be selected from the filmstrip thumbnails before selecting the export command. A similar method is used in Apple Aperture. Captive One Pro has the advantage of being able to process files into multiple formats, while in Lightroom only one format at a time can be processed However, by setting up presets for export settings, different exports can be started one after another and Lightroom will queue the processes.EXPORT OPTIONS
FOR A manual export of files. raw-conversion programs provide a full assortment of options to turn the raw format into something more universally accessible. For general use a JPEG format is the most popular and widely used, although for a higher quality file it's better to use the TIFF a universal DNG raw format. DNG is the open raw format created by Adobe and is readable by most editing programs. allowing the raw file to be opened by programs older than the camera in which it was created Companies including Pentax and Ricoh use the DNG format in their cameras. When creating a DNG file in Output, you will be offered the option to embed the original file within the DNG. This allows the file to be extracted at a later date if required, but will double its size. Although universal, there are different levels of compatibility for DNG files, with Lightroom currently offering four levels that relate to the version of software with which it will work. The oldest version will give the greatest compatibility, but may not include all possible features, such as lens adjustment and compression. If you must save in an older DNG format it is advisable to embed the original raw file. For JPEG and TIFF files options for compression and colour space will be made available. For best quality the least compression (none or TIFF or 100 for JPEG quality) is advisable. The colour space depends on the final usage for the file, with Adobe RGB best for print and sRGB for screen display.
PHOTO BOOKS

ARCHIVING AND BACK-UP
 THE MOST important part of any mage management is ensuring that all files are secure and backed up. Most image download tools, including Lightroom, Aperture and Adobe's photo downloader in Photoshop and Elements, allow a second copy of the images to be saved to a separate drive at time of download. As files are imported into Lightroom or Aperture, they can be referenced from external drives. For browsing purposes. a low-res version of the file is maintained in the program’s folder, therefore the drive containing the image doesn't need to be attached until editing is performed or an export s required. This method avoids the need to maintain high-res files on the computer's main drive, which could quickly clog-up the capacity. Archiving in software can be performed manually or with the use of a plug-in. The Lightroom, Aperture index folder should also be backed up regularly as prompted, in case of file errors.
WEB GALLERIES
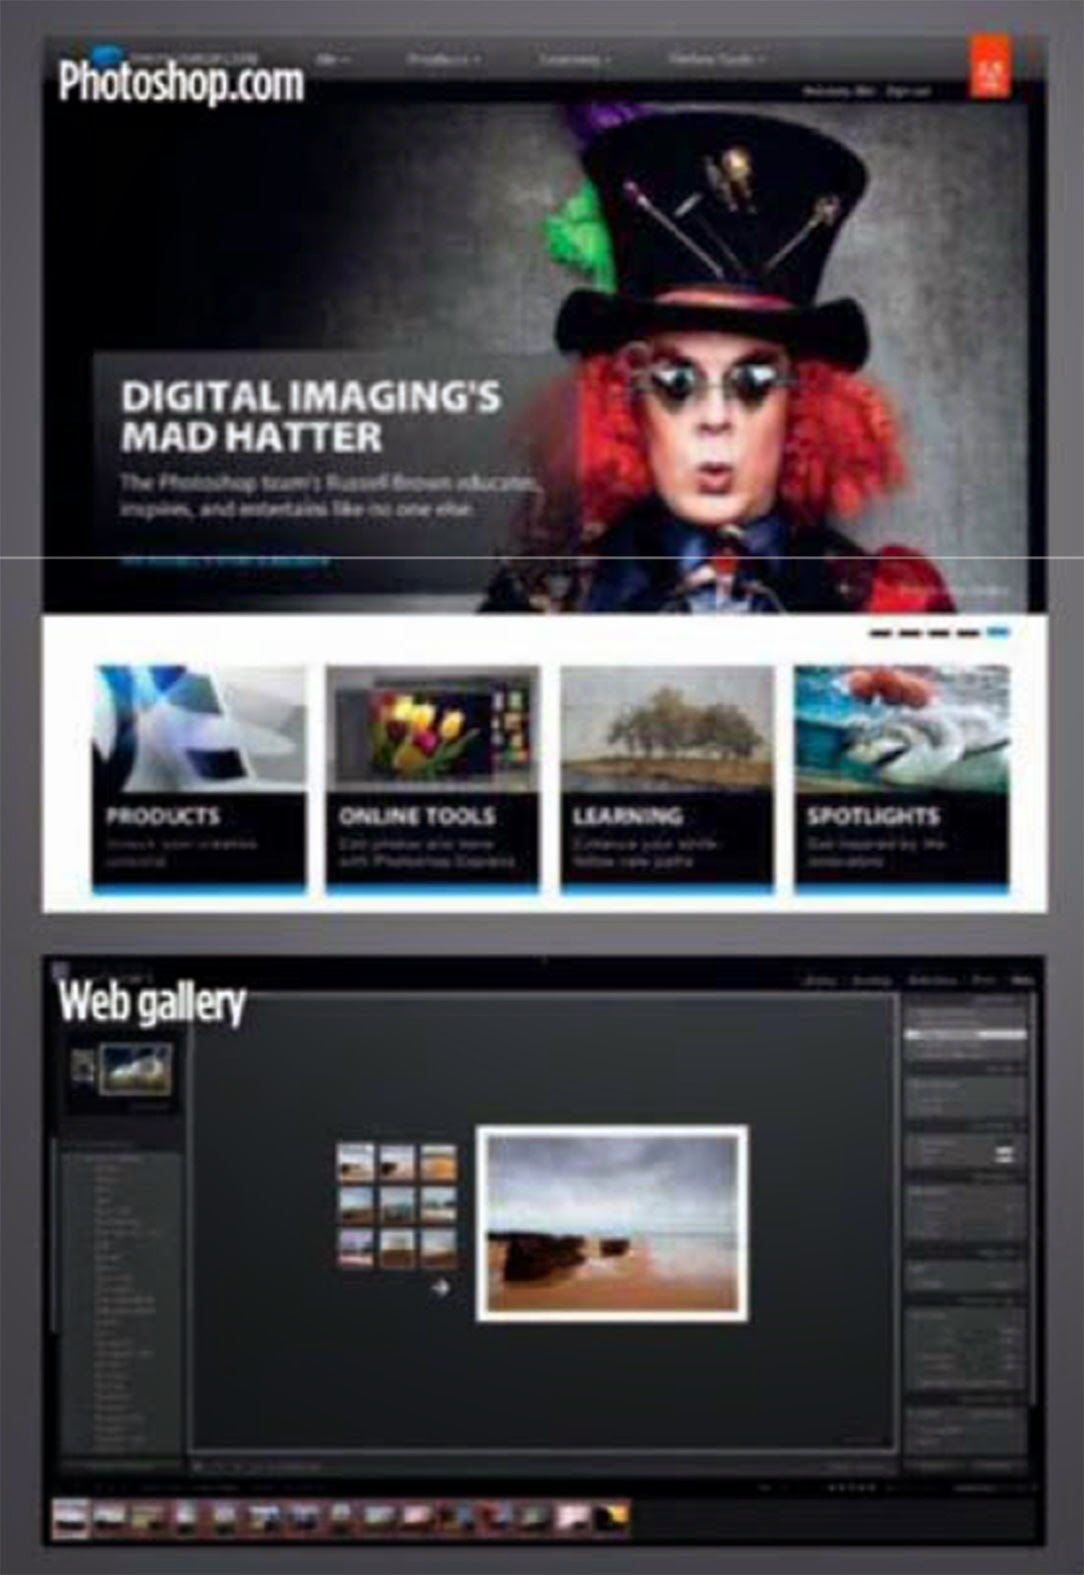 |
| Web galleries can be created in Lightroom or images uploaded directly to a gallery |
For those not adept with complicated web design, the advantages of producing a gallery in this way means there is no need to resize or compress your files or deal with HTML code. For those familiar with the web gallery creation in Photoshop Elements and CS. Lightroom's system works in a similar way. The files you wish to include in you- gallery must be selected in the filmstrip and the Web tab chosen. Lightroom then offers various templates and designs for the layout. Apart from the different looks, these contain Flash-based and non-Flash based HTML gallery designs. Using Flash designs allows sticker designs and clever transitions, although it can limit the ability to be seen by older machines and wont be displayed on iPad or iPhone devices.
A web gallery can also be created straight from raw files in Adobe Bridge (Photoshop CS) with the output workspace selected. To display a web gallery requires a hosting package with a website address, which can be bought from sites like www 123-reg com. Alternatively, you can sign up to www photoshop com (for free), which provides 2GB of web space and uses the Photoshop com Publish plug-in to upload your files for sharing.
For users who already have a website, the FTP details can be inputted into Lightroom and the galleries uploaded directly to the site. The sub folder specified will then become the quick link to direct people to that page. For instance, with a sub folder called ’Holiday’, the web address will become www your website com/holiday. While Lightroom can create individual pages with this method, it doesn't offer the ability to create a main page However, with a little clever adjustment using a word- processor program such as Microsoft Word, a gallery page can be adapted to become an opener.
CREATING A WEB MENU PAGE USING LIGHTROOM
1. For each of the image galleries you have created, pick one image that represents it. Then place all the galleries into one folder or create a collection of them In Lightroom. If possible, rename each with the gallery name to make it easier later. Now select or import that folder and move to the Web tab.
2. Create an HTML format design with a grid that contains all your images on one page. Multiple pages can be used, but this becomes more complex later Export the wet) page to your desktop and save it as a recognisable name, such as Ham Now find the folder and the Me named index html inside it.
3. Open your word processor and drag your index html file onto the icon or use File>Open and find the file. You may need to change the file type to view all file types'to see and open it.
4. Once open, select View>HTML Source from the the menu. This code may look scary at first, but simply scroll down to the sixth block of text under where it says <div id-"stage"» and find where it says;
<div class= "thumbnail borderTopleft"
onmouseover-“window.gridOn( this.parentNode,
'ID165988_thumb')" onmouseout="window.gridOff
(this.parentNode);" onclick="window.location
href='content/img072.large.html'">
<div class =‘"itemNumber">2</div>
<a href="content/img072_large html" onclick= "return
needThumblmgLink;">

5. Replace the content/image072_Large html or your equivalent file name with the web address of the gallery, such as http://www yourwebsite com/holiday so it reads as follows:<div class= "thumbnail borderTopleft"
onmouseover-“window.gridOn( this.parentNode,
'ID165988_thumb')" onmouseout="window.gridOff
(this.parentNode);" onclick="window.location
href='http://www yourwebsite com/holiday'">
<div class =‘"itemNumber">2</div>
<a href="http://www yourwebsite com/holiday"
onclick= "return needThumblmgLink;">
6. Do this for each of the images that relate to each gallery, and once you have finished click Save. without exiting the HTML view. The man folder, including the index.html file, resources and contents folder, should now be uploaded to the root directory of your website via an FTP program or you web management tool.
CONTACT SHEETS AND PICTURE PACKAGES

The print-job controls include the print resolution, sharpening and media selection, and also allow the selection of printer-managed or custom profiles to be used. The print dialogues in Lightroom and Aperture can be used to create contact prints of your images quickly, which can then either be printed or saved as a PDF file by printing to your PDF creator in the printer selection palette. The templates can also be used to create packages of prints on one sheet, whether it is multiple versions of onei mage or different images to fill the A4 or A3 sheet.
Labels: RAW 6
posted by Unknown @ 17:54
0 Comments
![]()
